Doggy Sweater Tut:
I've been filling a trash bag full of clothing to upcycle, so I had the perfect housecoat to use. It was dark brown and quilted on the outside, had a layer of batting on the inside, and dark grey fleece on the other side.

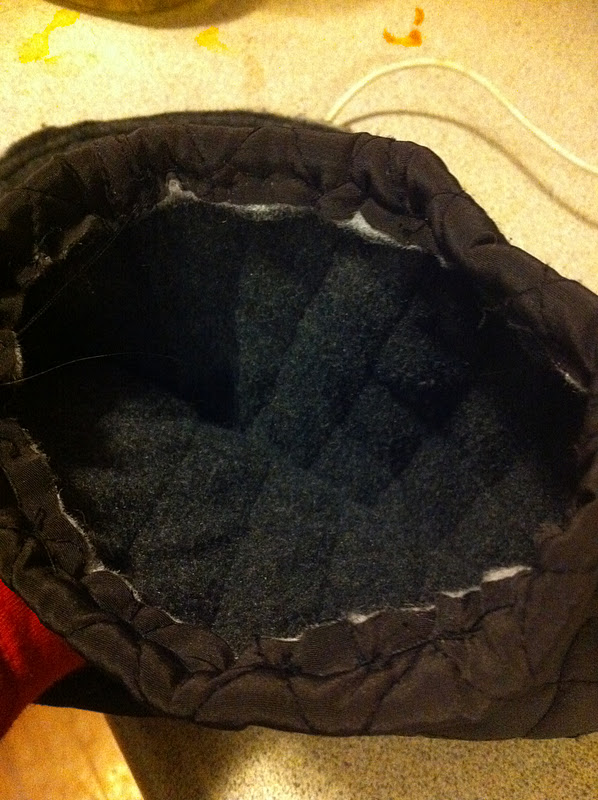
Step One was cutting off one arm of the coat. This dog needed a 15 inch length sweater, so I cut off 16.

The shoulder portion was round, and would be used towards the tail of the dog. Both ends were hemmed, but in the middle I left an unhemmed space of about an inch.
Step Three was cutting down the middle of the underbelly part. Then, return to the original jacket and cut down the length of the buttons to fit agianst the fabric that was just cut. This jacket had snaps, which is much easier than buttons when putting onto a dog!

Putting the right sides together, sew one of the button panels to one side of the sweater. Sew one inch at the top and two or three inches at the bottom. Leave the middle portion open. Repeat for the other side.

At this point, I stopped and made sure the leg holes were in the right postition for the dog. Then, I hemmed up the leg holes.
That was it! It took me less than an hour to hand stitch the whole thing while making a dinner of Chicken Fetticini and Alfredo and entertaining a baby at the same time.


No comments:
Post a Comment